


How To Measure for Flush Inset Appliances

Achieving a seamless, high-end kitchen design often comes down to the details, and nothing says luxury quite like flush inset appliances. These appliances fit perfectly within your cabinetry, creating a clean, uninterrupted line that elevates the entire space. However, flush inset installation is a game of millimeters, where even the smallest error can disrupt the entire aesthetic. Measure correctly for flush inset appliances to ensure the perfect fit in your dream kitchen.
Gather Your Essential Tools
To begin, you’ll need a few specific tools to ensure your measurements are accurate and reliable. Use a rigid, 25-foot steel tape measure, which won’t sag and ensures precision over long distances. You should also have a pencil and a detailed notepad or a digital tablet to record every measurement clearly and make notes.
A level is also necessary for checking that your cabinet openings are perfectly square and plumb before installation begins. Additionally, it’s a good idea to have the manufacturer’s specification sheet for your chosen appliance on hand. This document provides the exact dimensions and installation requirements you will need to follow.
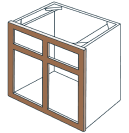
Measure the Rough Opening Carefully
The rough opening is the unfinished space within your cabinetry where the appliance will be installed. You need to measure the height, width, and depth of this opening in multiple places to account for any inconsistencies. Measure the height on the left, right, and center, and record the smallest of the three measurements. Using the smallest measurement ensures the appliance will fit properly without forcing or damaging the cabinetry.
Similarly, measure the width at the top, middle, and bottom of the opening, using the smallest figure each time. For depth, measure from the front edge of the cabinet frame to the back wall at least twice. These precise measurements ensure your appliance will slide in without issue and sit perfectly flush.

Check Manufacturer’s Specifications
Every flush inset appliance comes with a detailed specification sheet from the manufacturer, which is your most important resource. This document outlines the exact “cutout” dimensions required for the appliance, which are the precise height, width, and depth your cabinet opening must have. Always prioritize these specifications over your own rough measurements, as they are tailored to the specific model.
The spec sheet will also detail any required clearances for ventilation, which are critical for the appliance’s performance and longevity. Ignoring these clearances can lead to overheating, reduced efficiency, and a voided warranty. Following these guidelines ensures your appliance operates safely and effectively within the cabinetry.
Account for Doors and Handles
When measuring for flush inset appliances, you must consider how their doors and handles will interact with adjacent cabinets and walkways. Measure the thickness of the appliance door and any protruding handles to ensure they won’t collide with neighboring cabinet doors or drawers when opened. This is especially important in corners or next to kitchen islands where space is tight.
You’ll want to allow enough clearance for the appliance door to swing open completely, typically past 90 degrees, without hitting anything. This ensures you can easily access interior drawers and shelves for cleaning and daily use. Refer to the manufacturer’s diagrams, which often show the required swing clearance for proper installation.
You can ask these three questions to understand how well appliance doors and handles will fit in your kitchen:
- Will the refrigerator door clear the adjacent wall when fully open?
- Can you open the dishwasher door completely without blocking a major walkway?
- Does the oven handle prevent a nearby drawer from opening?
- Is there enough space to stand in front of the appliance when its door is open?
- Will customized panels on the appliance match the thickness of your cabinet doors?
Plan for Utilities and Ventilation
Proper placement of utilities like water lines, gas lines, and electrical outlets is essential for a true flush installation. These connections should be in an adjacent cabinet or within a recessed box in the wall behind the appliance, as specified by the manufacturer. Placing them directly behind the unit can prevent the appliance from sliding all the way back and sitting flush with your cabinetry.
Ventilation is another key factor, especially for refrigerators, freezers, and ovens. The manufacturer’s specifications will dictate the amount of clearance space needed at the top, back, and sides for proper air circulation. Inadequate ventilation can cause the appliance to work harder and consume more energy, which ultimately shortens its lifespan.
Factor in Your Cabinetry Style
The style of your cabinets can affect the installation of flush inset appliances. For example, if you have traditional framed cabinets, the appliance must fit inside the frame opening. With frameless (or Euro-style) cabinets, the appliance fits directly into the cabinet box, which can offer slightly different dimensions.
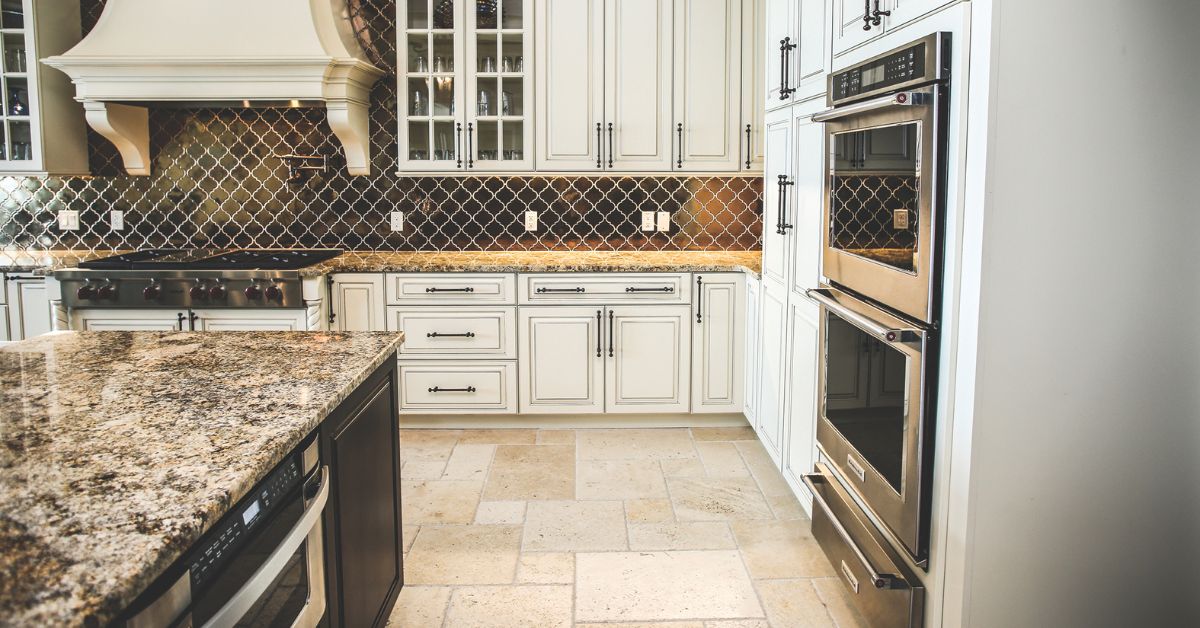
This is also a good time to consider the material of your cabinets. Hardwood kitchen cabinets, made from solid wood like oak, maple, or cherry, offer superior durability and a timeless look that pairs beautifully with integrated appliances. Because they are strong and stable, they provide an excellent foundation for the precise structure required for flush inset installations.
Keep these key considerations in mind to ensure your cabinets are ready for flush inset appliances:
- Measure cabinet frame thickness for framed cabinetry.
- Confirm interior cabinet box dimensions for frameless designs.
- Account for the thickness of any appliance panels you plan to add.
- Ensure the cabinetry is structurally sound enough to support the appliance’s weight.
- Verify that your cabinet depths are consistent with the appliance requirements.
Accounting for Appliance Panels
Custom panels are often added to appliances like refrigerators, dishwashers, or warming drawers to match the surrounding cabinetry. These panels create a seamless, built-in look by blending the appliance with the rest of the kitchen design. Homeowners might choose panels made from the same material as their cabinets, such as wood or laminate, for a cohesive and polished appearance. When measuring, be sure to account for the panel’s thickness to ensure the appliance fits perfectly within the cabinetry.
Double-Check Every Measurement
Before making any cuts, double-check every single measurement. Use your notes and compare them against the manufacturer’s specification sheet one last time. This simple step can save you from costly errors, such as a cabinet opening that is too large or too small.
It’s a good practice to have a second person, like your designer or installer, review the measurements with you. A fresh set of eyes might catch a small mistake you overlooked.
Achieving a flawless, built-in look with flush inset appliances is all about precision and careful planning. By gathering the right tools, meticulously measuring your space, and strictly following the manufacturer’s specifications, you set the stage for a perfect fit. Remember to account for door swings, utility placements, and your cabinetry style to avoid issues like doors not opening fully, misaligned panels, or appliances sticking out from the cabinetry. A little extra effort now will guarantee a polished finish.